Checkmate in Chess: Learn The Keys to Victory
14/06/2023 - Actualizado: 21/06/2023
Checkmate in chess is when one of the two sides manages to lock the enemy king without leaving any place where he can escape and where no piece can help him. This gives the victory to the side that trapped the king.

But before going deeper into checkmate we have to know two important issues that can be similar and can be confused with checkmate.
Check In Chess
Check is when we threaten to capture the king and win the game.
But the king has three ways to save himself from being captured by the opposing side.
Getting Out Of Check
- Move the king to a square in which the king is safe or is not controlled by a rival piece.
- Interpose an allied piece between the threat and the king, functioning as a kind of shield for the king.
- Capture the piece that is threatening the king.

Stalemate In Chess (draw by stalemate chess)
The stalemate in chess or draw by stalemate is when the king is enclosed, but the square where it is located is safe and it is not possible to move another piece. When the stalemate occurs, the game ends as a draw.

This is a resource that we can hold on to when we are at a disadvantage and we must be careful when we are the ones with the advantage, since our opponent will use all the chess resources at his disposal to force a stalemate position.
How To Checkmate
Now we will know some of the most famous checkmates, as an example to understand a little more in depth how to perform a checkmate.
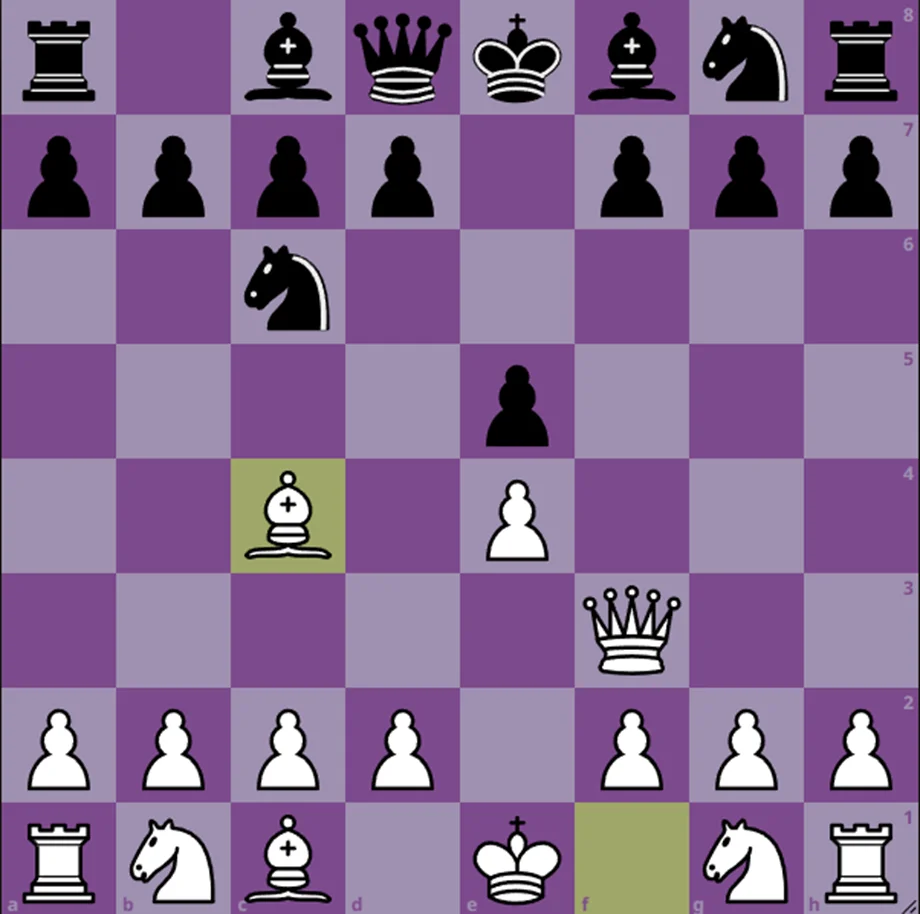
The Scholar's Mate (4 move checkmate)
This is one of the best known checkmates and one of the fastest checkmates to perform, only 4 moves are needed to winning.
Let's look at an example:

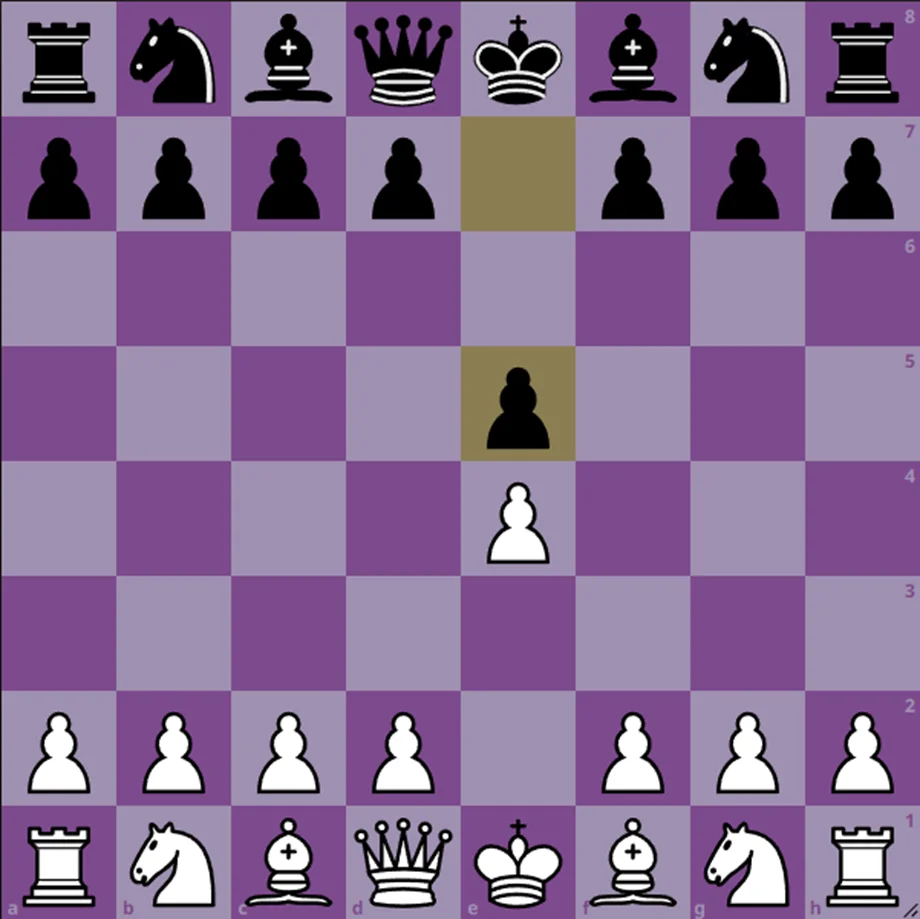
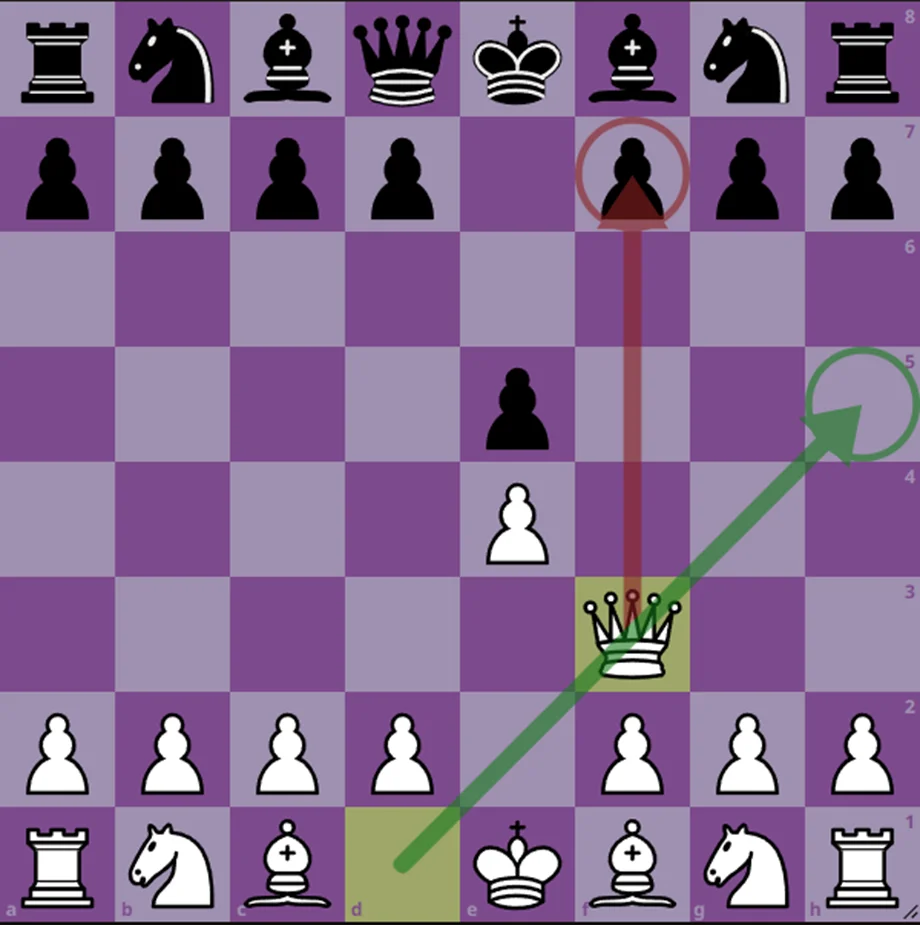
It is also possible to play 2.Qh5 with the same idea of attacking the f7 point.
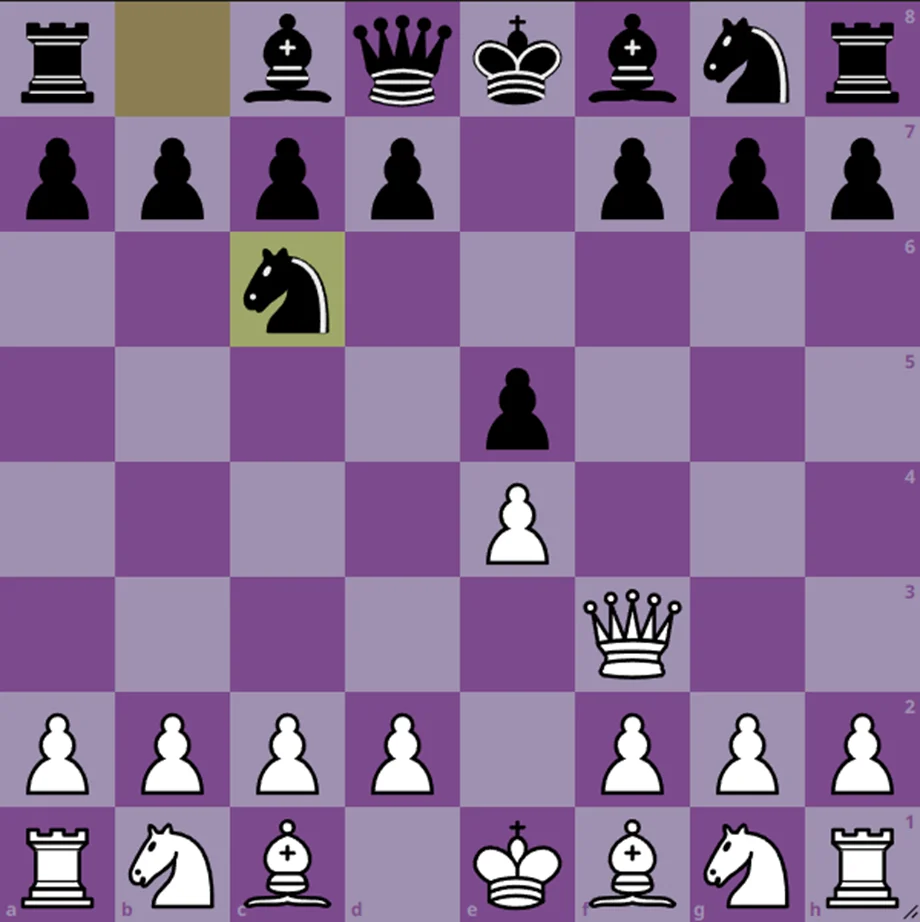

This would be an acceptable move except that they completely ignored White's threat.

About Scholar's Mate
We saw an order by which the Scholar's Mate can be performed (there are other orders by which it can also be performed, but always with the same strategy of attacking Black's f7 weak point or f2 in the case of White).
Scholar's Mate is usually used by beginners who want to win in a quick way but it is not recommended since it breaks the rule of not moving the queen in the early game. If Black takes advantage of this he could be left with a certain advantage in his development as well as having frustrated the plans of the white pieces.
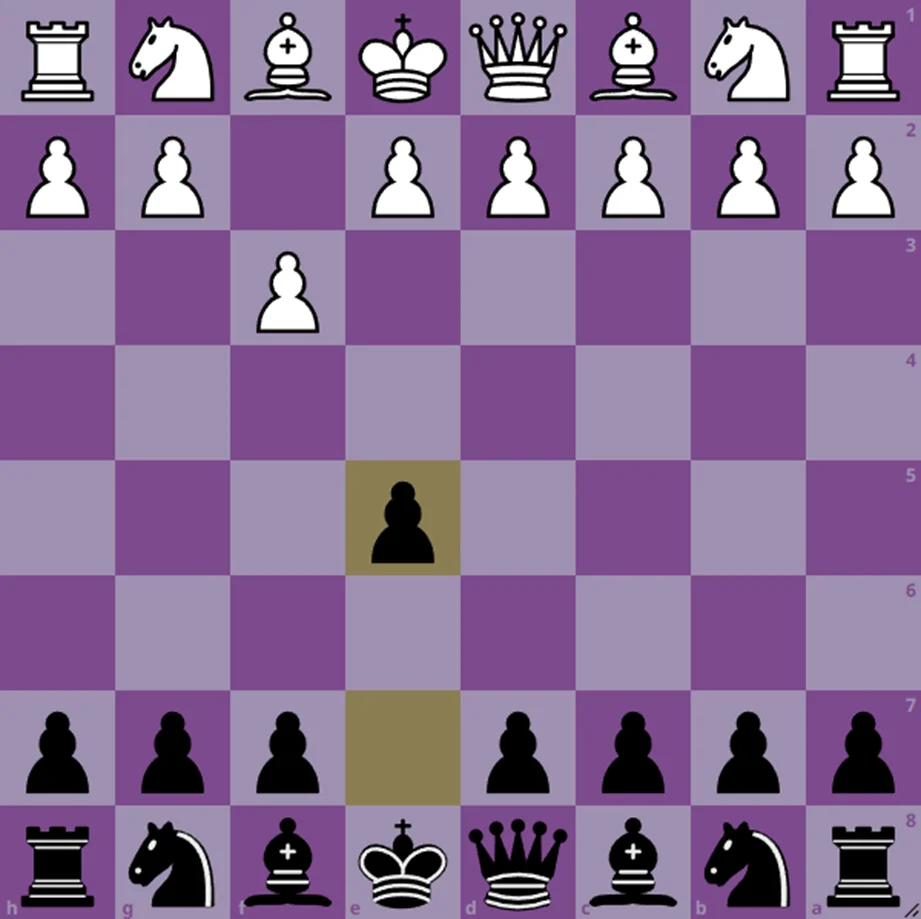
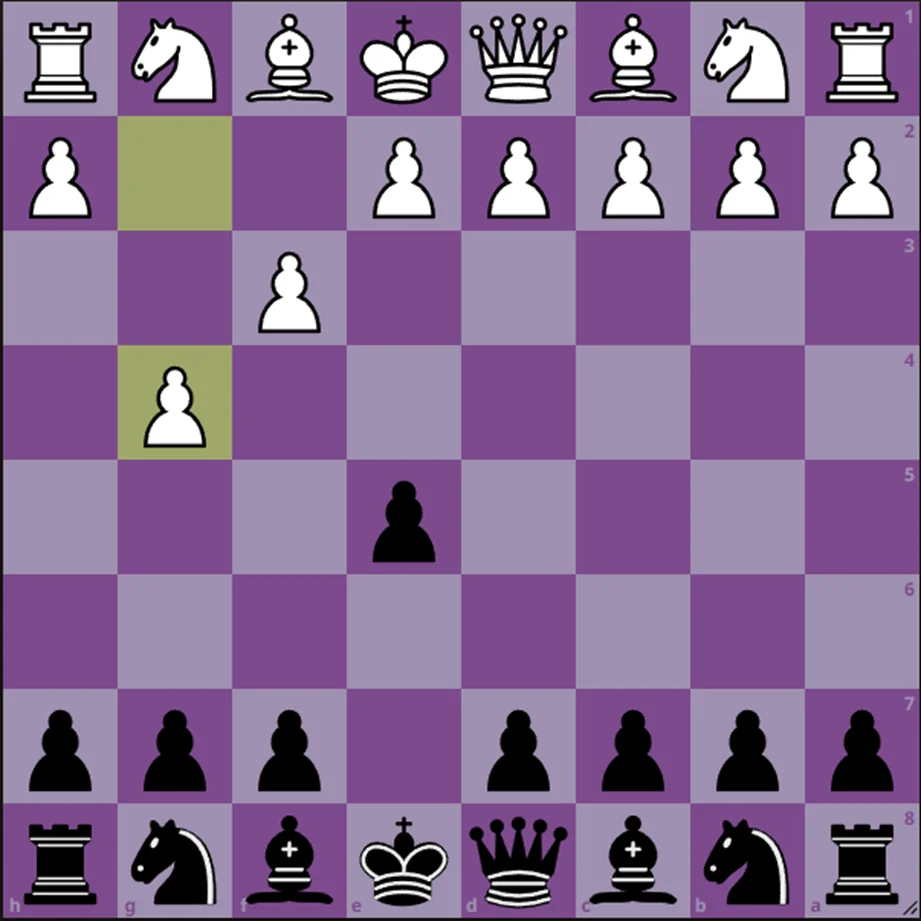
Fool’s Mate
If the previous checkmate is one of the fastest, the one we are going to see now has the title of "the fastest checkmate", but to perform it our opponent has to help us a little as we will see below.
This mate is performed with the black pieces, with only two moves.
let's see it:

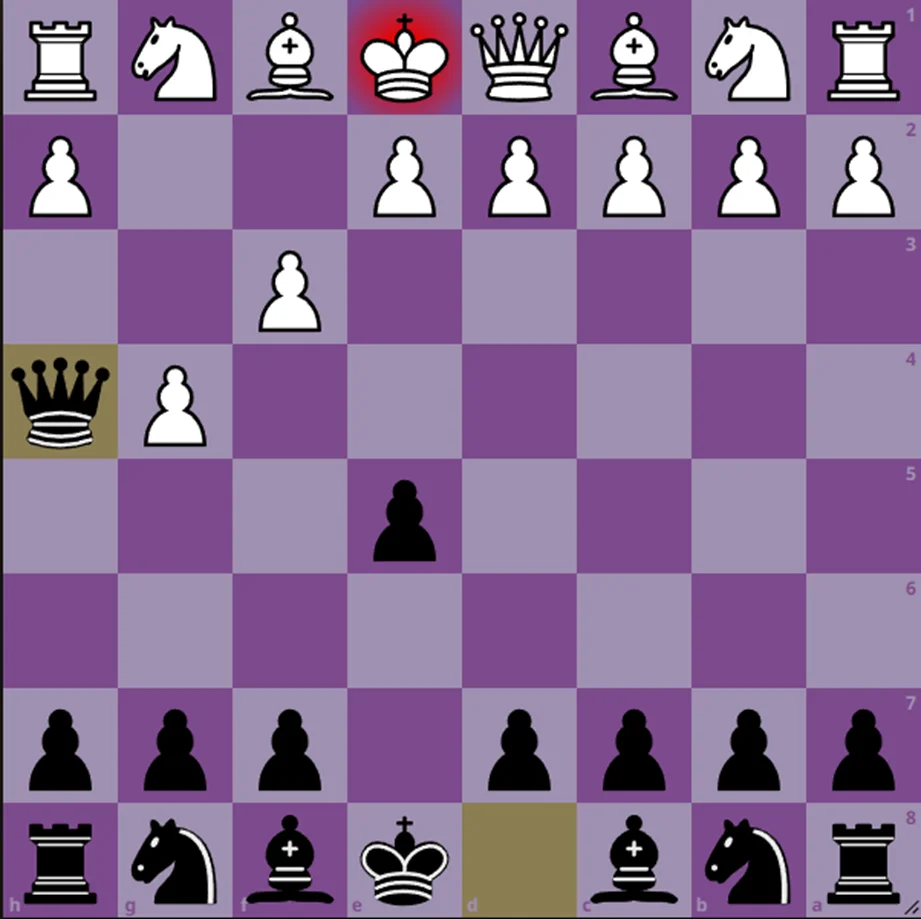
About Fool’s Mate
This checkmate is very difficult to perform since we need help from our opponent to achieve it, but it is useful to understand it so that they do not give this checkmate to us and to learn that we should not weaken our king without any sense.
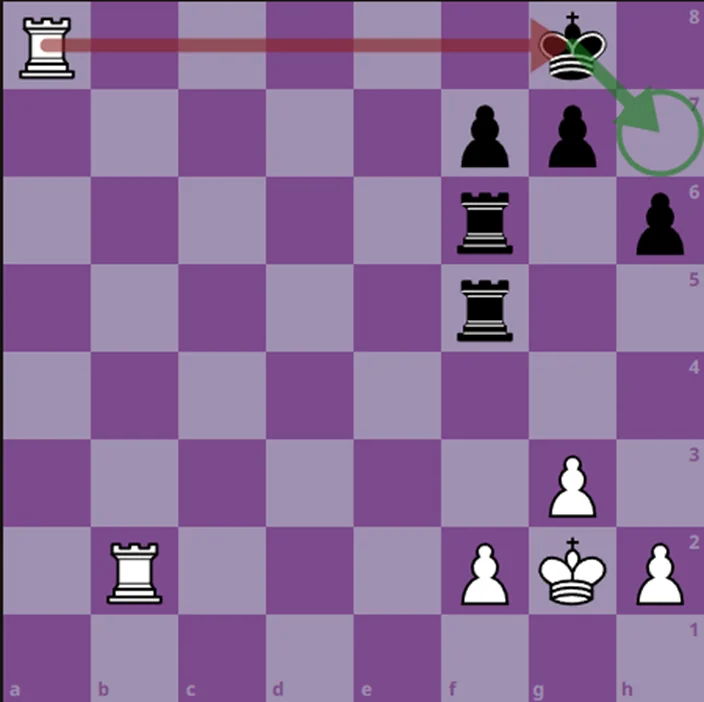
Back Rank Mate (Corridor Mate)
This checkmate is usually given in more advanced phases of the game ( midgame or endgame), this checkmate takes advantage of the "security" position of the king, more specifically when the king is in the last row enclosed by its pawns.
For example:
About Back Rank Mate
In appearance the black king was very safe behind his pawns, but this was also one of the reasons why he was checkmated, while the white king was just as safe and also had an escape route (the h2 square) in case he was attacked by the enemy rook.
We have to take care of our front row so that we do not get this type of checkmate, opening an air or a loophole is always a useful move and thus we will have less pressure on our king.
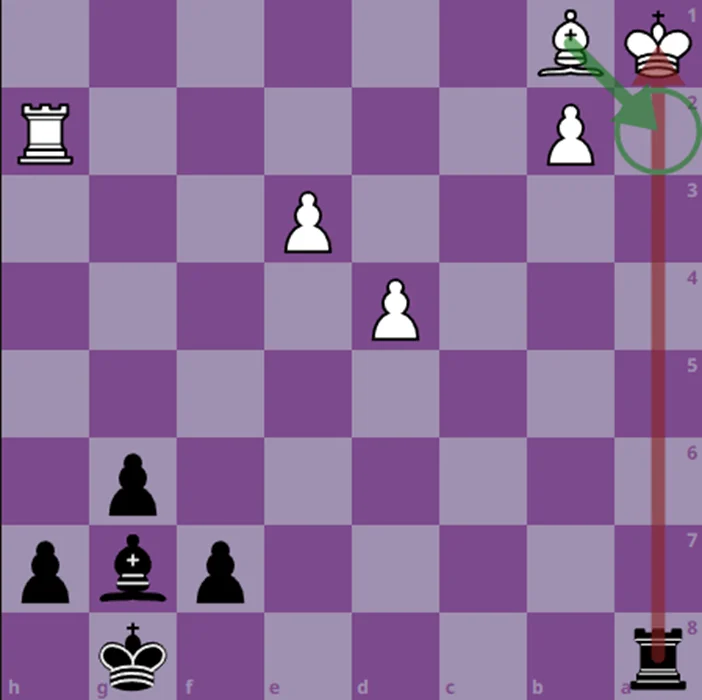
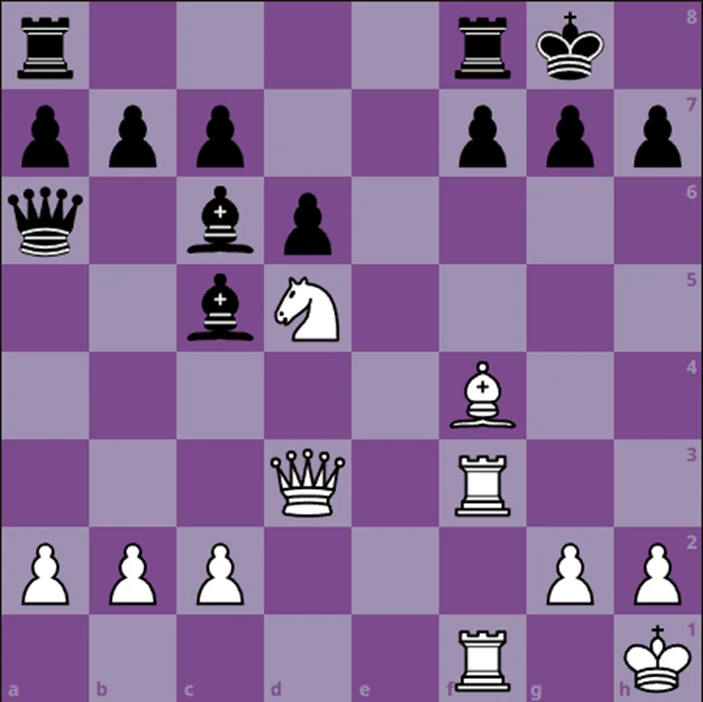
Anastasia's mate
This is one of my favorite checkmates because we offer the opponent's king a sacrifice so that he is forced to leave his safe place and be totally exposed, to give him the final blow.
Let's look at an example:
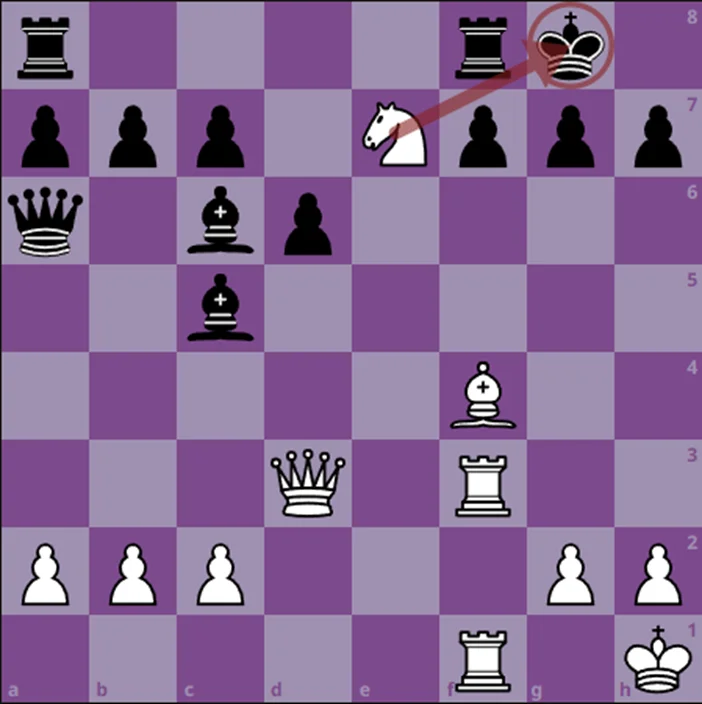
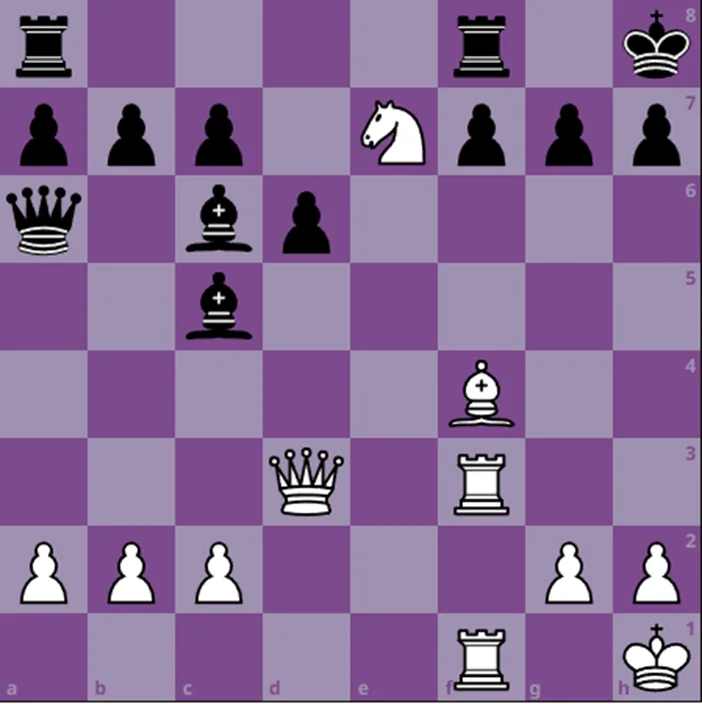
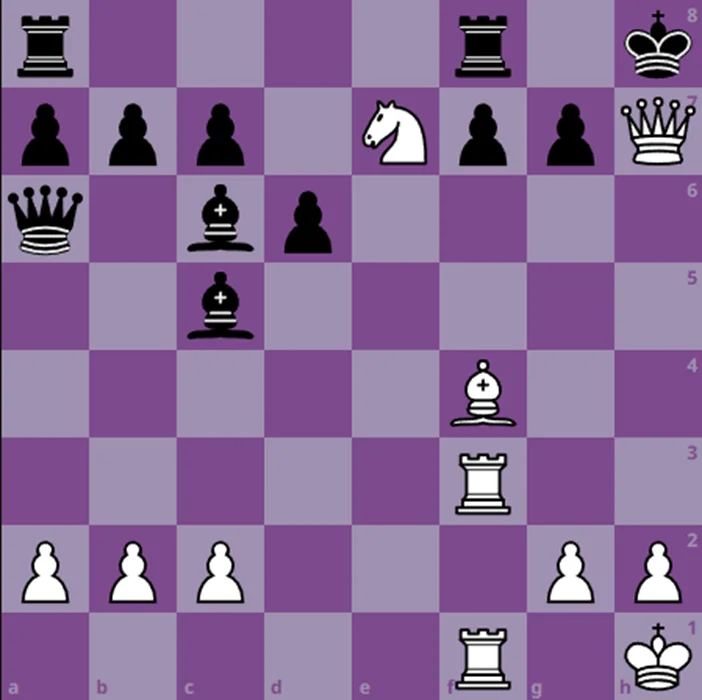

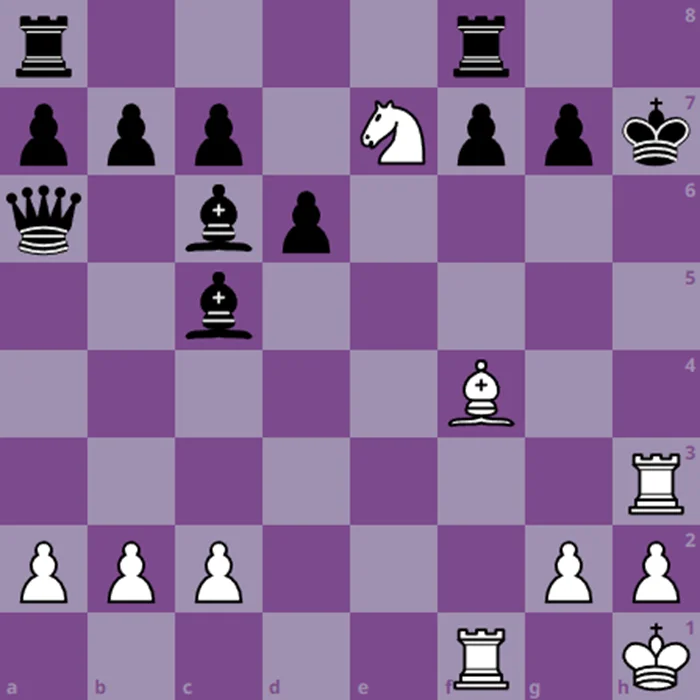
About Anastasia's mate
Something very important in chess is where our pieces are positioned, in this checkmate we have a very good example, the white pieces were prepared to attack the black king.
While the black pieces only had their bishops in an active position, looking towards the white king, the other pieces and the most important ones such as the rooks and the queen were very passive and far away from all the action.
What we can learn from this checkmate is that we must be careful when our opponent accumulates pieces near our king and in the case that we have pieces near the opponent's king (about 3 to 4 pieces) we have to look for attacking combinations that give us the victory or some tactical theme that gives us an advantage.
⭐️ If you want to know more about other articles similar to Checkmate in Chess: Learn The Keys to Victory you can visit our category Chess For Beginners. We are waiting for you inside 👍
Leave a Reply